How to Make Homemade Vanilla Ice Cream Easily
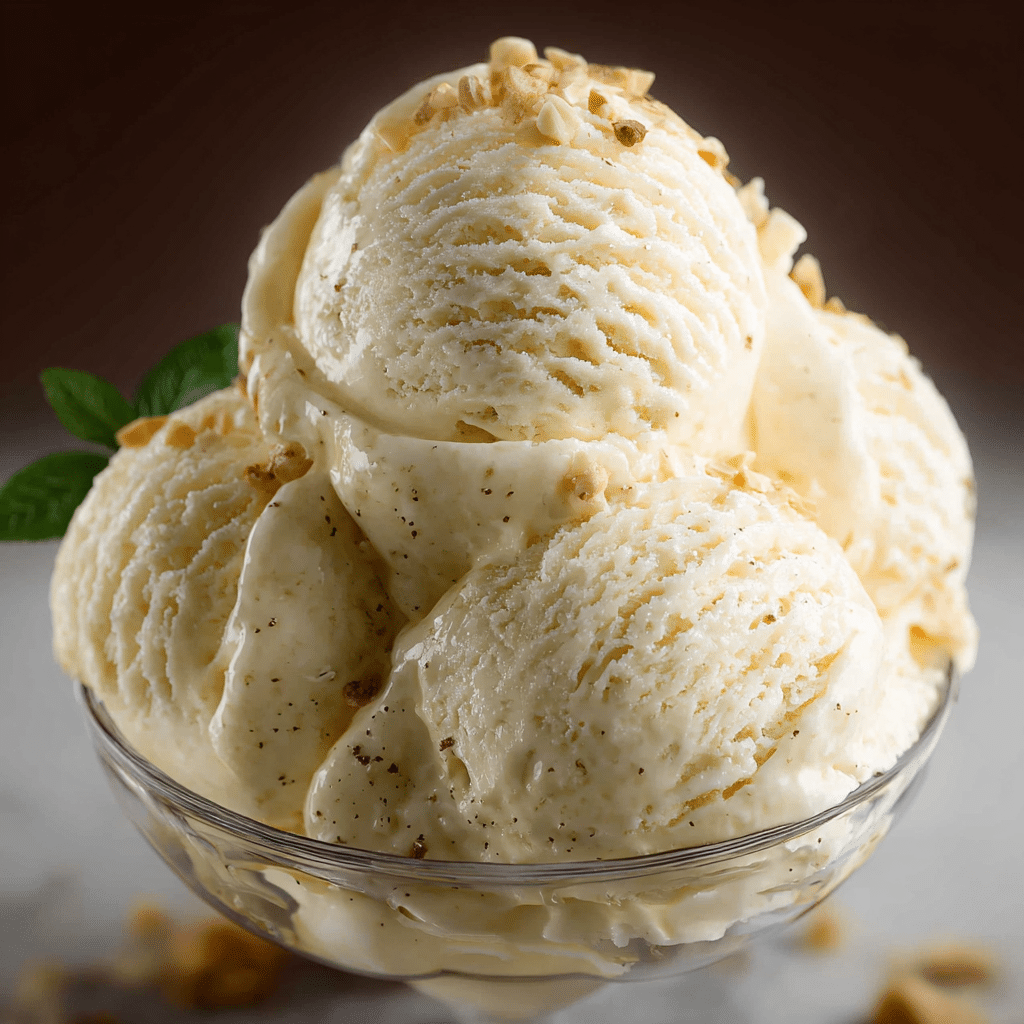
There is nothing quite as satisfying as a scoop of creamy, rich homemade vanilla ice cream fresh from your own kitchen. Making Homemade Vanilla Ice Cream is simpler than you might think, and the results are pure bliss. Whether you’re treating yourself on a warm afternoon or preparing a classic dessert for friends, this recipe delivers the perfect balance of smooth texture and comforting vanilla flavor that will become a household favorite.
Why You’ll Love This Recipe
- Simple Ingredients: Uses everyday pantry staples that come together beautifully without any fuss.
- Creamy Texture: Achieves a velvety smooth mouthfeel that rivals store-bought ice cream.
- Customizable Flavors: A versatile base recipe that can be easily enhanced with your favorite mix-ins.
- No Special Equipment Needed: Can be prepared with or without an ice cream maker, perfect for any kitchen.
- Perfect for Any Occasion: Ideal for family dinners, celebrations, or a spontaneous sweet treat.
Ingredients You’ll Need
Keeping ingredients straightforward is key to delicious Homemade Vanilla Ice Cream. Each component plays a vital role in creating its luscious flavor, creamy consistency, and inviting color.
- Whole Milk: Provides a rich base and keeps the ice cream light yet creamy.
- Heavy Cream: Adds indulgent fat content needed for smooth texture and mouthfeel.
- Sugar: Sweetens the ice cream while also lowering the freezing point to keep it scoopable.
- Vanilla Bean or Extract: The star flavor that defines the classic vanilla ice cream taste.
- Egg Yolks (optional): Used in custard-style ice cream to enhance richness and creaminess.
- Salt: Just a pinch to balance and deepen the overall flavors.
Variations for Homemade Vanilla Ice Cream
One of the joys of Homemade Vanilla Ice Cream is how easily you can customize it to your taste or dietary preferences. Below are some delicious ideas to inspire you.
- Classic French Custard: Incorporate egg yolks for a richer, silkier base.
- Dairy-Free Version: Substitute coconut or almond milk and coconut cream for a creamy vegan treat.
- Vanilla Bean Specks: Use real vanilla beans for speckled vanilla flavor and natural aroma.
- Mix-in Madness: Add chocolate chips, crushed cookies, or fresh berries during the last churn.
- Sweetener Swap: Use honey or maple syrup instead of sugar for a more complex sweetness.

How to Make Homemade Vanilla Ice Cream
Step 1: Prepare the Ice Cream Base
Start by combining the whole milk, heavy cream, and sugar in a saucepan over medium heat. Stir gently until the sugar dissolves and the mixture is warm but not boiling. If you’re using egg yolks for a custard-style ice cream, whisk them separately and slowly temper with some warmed milk before combining all ingredients.
Step 2: Infuse with Vanilla
Add vanilla bean seeds scraped directly from the pod or a teaspoon of pure vanilla extract into the warm base. Let the mixture steep off the heat to fully develop that irresistible vanilla aroma.
Step 3: Chill Thoroughly
Transfer the ice cream base to a bowl and cover it tightly with plastic wrap. Place it in the refrigerator for at least 4 hours or overnight to chill completely. This step is crucial to ensure a smooth churn and creamy final texture.
Step 4: Churn the Ice Cream
Pour the chilled mixture into your ice cream maker and churn according to the manufacturer’s directions, usually about 20-30 minutes. If you don’t have a machine, you can use the no-churn method by freezing the base in a shallow container and stirring every 30 minutes for about 3 hours to break up ice crystals.
Step 5: Freeze to Firm Up
Once churned, transfer the soft ice cream into an airtight container and freeze for an additional 3-4 hours to achieve the perfect scoopable consistency.
Pro Tips for Making Homemade Vanilla Ice Cream
- Chill Ingredients: Using cold cream and milk helps the mixture freeze faster and smoother.
- Don’t Skip Chilling: Fully refrigerate the base before churning to maximize creaminess.
- Use Real Vanilla: Pure vanilla extract or beans give the most authentic taste over imitation flavoring.
- Control Sweetness: Taste the base before chilling and adjust sugar if needed for your preference.
- Storage Tips: Keep ice cream sealed tightly to prevent freezer burn and maintain freshness.
How to Serve Homemade Vanilla Ice Cream
Garnishes
A simple garnish can elevate your ice cream presentation. Fresh berries, a drizzle of caramel or chocolate sauce, chopped nuts, or a sprinkle of cinnamon all pair wonderfully with vanilla’s mellow flavor.
Side Dishes
Homemade Vanilla Ice Cream is fantastic alongside warm desserts like freshly baked apple pie, brownie sundaes, or spiced gingerbread cookies. The contrast of hot and cold makes every bite extra special.
Creative Ways to Present
Try serving your vanilla ice cream in waffle cones, stuffed inside baked doughnuts, or layered in parfait glasses with fruit and granola for an eye-catching twist that guests will adore.
Make Ahead and Storage
Storing Leftovers
Place leftover ice cream in a freezer-safe airtight container to minimize ice crystal formation. Press a piece of parchment paper directly on the surface before sealing to further protect texture.
Freezing
For long-term storage, keep your Homemade Vanilla Ice Cream in the coldest part of the freezer, ensuring the lid is securely sealed. Avoid the door where temperature fluctuations can cause freezer burn.
Reheating
Ice cream is best enjoyed cold, but if it becomes too hard, let it sit out for 5-10 minutes to soften slightly before scooping. Avoid microwaves, which can ruin texture and flavor.
FAQs
Can I make Homemade Vanilla Ice Cream without an ice cream maker?
Absolutely! Use the no-churn method by freezing the mixture in a shallow container and stirring every 30 minutes to prevent ice crystals from forming. This method takes longer but still yields creamy results.
How long does Homemade Vanilla Ice Cream last in the freezer?
When stored properly in an airtight container, your ice cream should maintain its best quality for up to two weeks, though it remains safe to eat beyond that if frozen continuously.
Can I use artificial vanilla flavor instead of real vanilla?
While artificial vanilla can be used, real vanilla extract or vanilla beans provide a richer, more natural flavor that truly elevates homemade ice cream.
Is it necessary to use egg yolks in this recipe?
Egg yolks are optional and primarily used in custard-style ice cream for extra richness and silkiness, but you can make excellent simpler versions without them.
How do I make this recipe dairy-free?
Substitute whole milk and cream for plant-based alternatives like coconut milk and coconut cream. You may need to experiment with sweetness and texture but it’s entirely doable.
Final Thoughts
There’s something truly magical about crafting your own Homemade Vanilla Ice Cream—the joy of fresh ingredients, the rewarding process, and that delicious first bite. This easy recipe is a great starting point for anyone looking to embrace homemade desserts with warmth and creativity. So go ahead, dive into making your own batch and savor the timeless classic everyone loves.
Related Posts
- Easy Homemade Divinity Candy Recipe to Try Now
- Irresistible Reese’s Stuffed Brownie and Peanut Butter Frosting
- Irresistible Cheesecake Stuffed Strawberries Treat
Homemade Vanilla Ice Cream

Homemade Vanilla Ice Cream is a creamy, rich dessert made with simple pantry staples. This recipe offers a smooth texture and comforting vanilla flavor, perfect for any occasion. Whether made with or without an ice cream maker, it can be easily customized and is sure to become a favorite treat.
- Prep Time: 15 minutes
- Cook Time: 10 minutes
- Total Time: 8 hours 25 minutes (including chilling and freezing)
- Yield: About 1 quart (4 servings) 1x
- Category: Dessert
- Method: No-churn or ice cream maker
- Cuisine: American
- Diet: Gluten Free
Ingredients
Main Ingredients
- 2 cups whole milk
- 2 cups heavy cream
- ¾ to 1 cup sugar
- 1 vanilla bean (split and seeds scraped) or 1 teaspoon pure vanilla extract
- 1 pinch of salt
Optional Ingredients for Custard-style Base
- 4 large egg yolks
Instructions
- Prepare the Ice Cream Base: Combine the whole milk, heavy cream, and sugar in a saucepan over medium heat. Stir gently until the sugar dissolves and the mixture is warm but not boiling. If using egg yolks for custard-style ice cream, whisk them separately and slowly temper with some warmed milk before mixing all ingredients together.
- Infuse with Vanilla: Add vanilla bean seeds scraped directly from the pod or a teaspoon of pure vanilla extract into the warm base. Let the mixture steep off the heat to fully develop the vanilla aroma.
- Chill Thoroughly: Transfer the ice cream base to a bowl and cover tightly with plastic wrap. Refrigerate for at least 4 hours or overnight to chill completely, ensuring a smooth churn and creamy texture.
- Churn the Ice Cream: Pour the chilled mixture into an ice cream maker and churn for 20-30 minutes according to manufacturer directions. Without a machine, freeze the base in a shallow container, stirring every 30 minutes for about 3 hours to break up ice crystals.
- Freeze to Firm Up: Transfer the churned ice cream into an airtight container and freeze for an additional 3-4 hours until firm and scoopable.
Notes
- Chill ingredients ahead of time to help the mixture freeze faster and smoother.
- Do not skip chilling the base before churning to maximize creaminess.
- Use pure vanilla extract or vanilla beans for the most authentic flavor.
- Taste the base before chilling and adjust sugar to your preference.
- Store ice cream in airtight containers to prevent freezer burn and maintain freshness.
Nutrition
- Serving Size: ½ cup
- Calories: 250
- Sugar: 20g
- Sodium: 40mg
- Fat: 18g
- Saturated Fat: 11g
- Unsaturated Fat: 5g
- Trans Fat: 0g
- Carbohydrates: 22g
- Fiber: 0g
- Protein: 3g
- Cholesterol: 85mg
Keywords: vanilla ice cream, homemade ice cream, no churn ice cream, custard ice cream, dairy dessert, easy ice cream